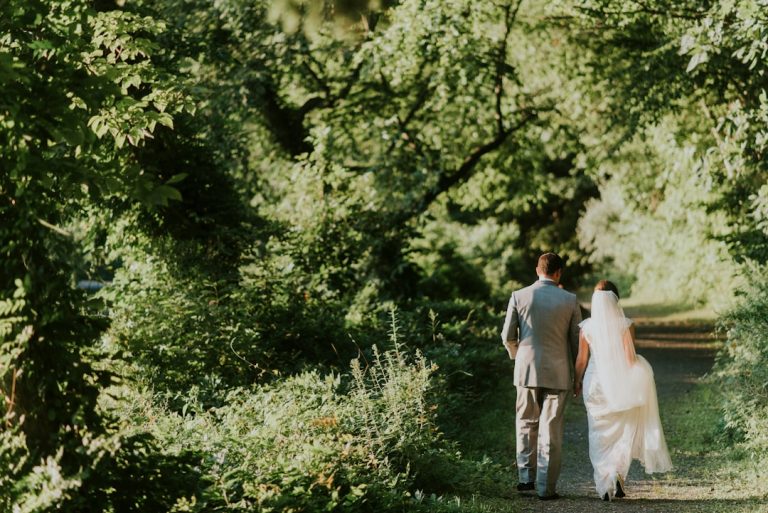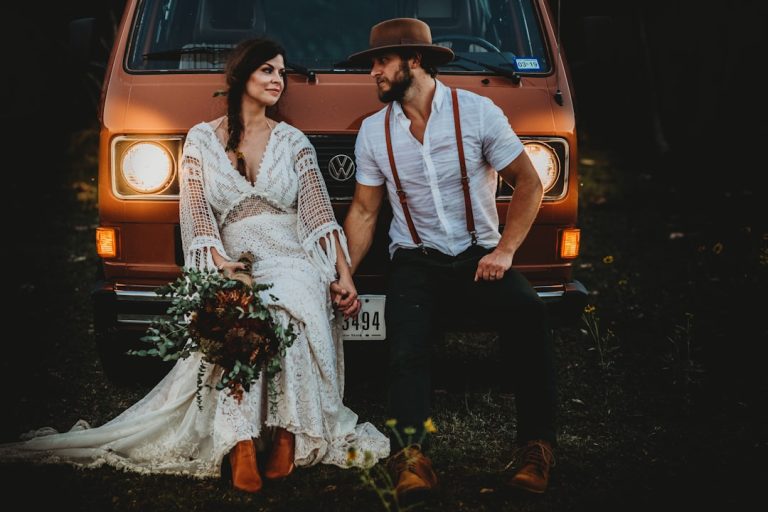
Wedding Invitation Design Tips for Talent Acquisition

Top Tips for Wedding Invitation Design: Fonts, Logos, and Color Palettes Every Bride Should Know
Estimated Reading Time: 8 minutes
Key Takeaways:
- Invitation design sets the emotional tone for your wedding.
- Pair fonts effectively to ensure readability and style.
- Color palettes greatly influence the overall mood.
- Layouts should balance beauty and clarity for guests.
- Digital invitations can complement printed stationery.
Table of Contents:
- Why Invitation Design Matters
- Typography: Choosing the Right Wedding Fonts
- Logos and Monograms: Building a Wedding Identity
- Wedding Color Palettes: Trends and Practical Selection
- Layout, Hierarchy, and Wording
- Printing Methods and Paper Choices
- Mailing and Budgeting Considerations
- Digital Invitations and Hybrid Approaches
- How Wedding Services and Planners Help
- Real-World Examples (Mini Case Studies)
- Practical Takeaways for Brides and Women
- Quick Checklist Before Sending Invitations
- Related Video
- Final Thoughts
Why Invitation Design Matters
An invitation is more than logistics; it’s the first emotional touchpoint for guests. Great wedding invitation design achieves three things:
- Communicates essential information clearly (who, what, when, where, RSVP).
- Sets expectations for formality and style (black tie vs. casual, boho wedding vs. modern minimal).
- Creates a cohesive visual identity that carries across save-the-dates, signage, menus, and favors.
As wedding consultants and designers, we treat invitation design as small-brand design: it represents the couple’s style and becomes a visual thread throughout the event. Below are expert tips organized by the most impactful components: typography, logos/monograms, color palettes, layout, printing choices, and practical workflow advice.
Typography: Choosing the Right Wedding Fonts
Wedding typography is the single most powerful design tool. Fonts convey tone immediately: a flowing script feels romantic and whimsical, a serif feels classic and formal, a clean sans-serif feels modern and minimalist.
How to Choose:
- Start with tone: List 3 words that describe your wedding (e.g., romantic, joyful, intimate). Match fonts to those words.
- Use one display font and one readable body font. Display fonts (script or decorative serif) are great for names and headings; body fonts (serif or sans) ensure RSVP details are legible.
- Pair smartly: Avoid pairing two ornate scripts. A popular, reliable combo is a script for names + a clean serif for details, or an elegant serif for headings + a neutral sans-serif for body text.
- Readability matters: For older guests or long addresses, choose a typeface with good readability. Avoid tiny sizes for intricate fonts.
Examples of Effective Pairings:
- Script (for names) + Transitional serif (for details) — timeless and elegant.
- Modern serif (for headings) + Geometric sans-serif (for body) — refined and contemporary.
- Handwritten brush script (for boho wedding invites) + simple sans (for logistics) — relaxed but legible.
Practical Font Tips:
- Limit the number of fonts to two or three.
- Use font weights (light, regular, bold) to create visual hierarchy rather than adding new typefaces.
- Test print proofs for scripts — some fonts lose clarity in small sizes or on textured paper.
- If you plan a wedding website or email invites, use web-safe or hosted fonts that match your printed invitation. Many couples download fonts for consistent use across platforms; you can find curated wedding fonts and design templates at https://fonts.wedding.
Logos and Monograms: Building a Wedding Identity
A wedding logo or monogram is a small symbol that can unify all visual touchpoints. It’s especially useful for multi-day events, destination weddings, or when couples want a bespoke, branded look.
When to Create One:
- If you want consistent branding across welcome bags, menus, favors, and signage.
- For destination weddings or weekend-long celebrations where a recognizable mark helps guests.
- To create a keepsake (stamps, wax seals, embroidered tote bags).
Design Considerations:
- Keep it simple: Monograms work best when they are legible at small sizes. Consider initials in a circle, a simplified crest, or a monogram lockup with your wedding date.
- Versatility: Ensure the logo looks good in one color, reversed on dark backgrounds, and as an emboss or foil stamp.
- Color and texture: Plan how the monogram will render in foil, letterpress, or engraved metal. Some designs show up better with high contrast.
- Professional help: If you want a custom logo, start with a mood board and clear direction; a designer can create vector files for printers and signage.
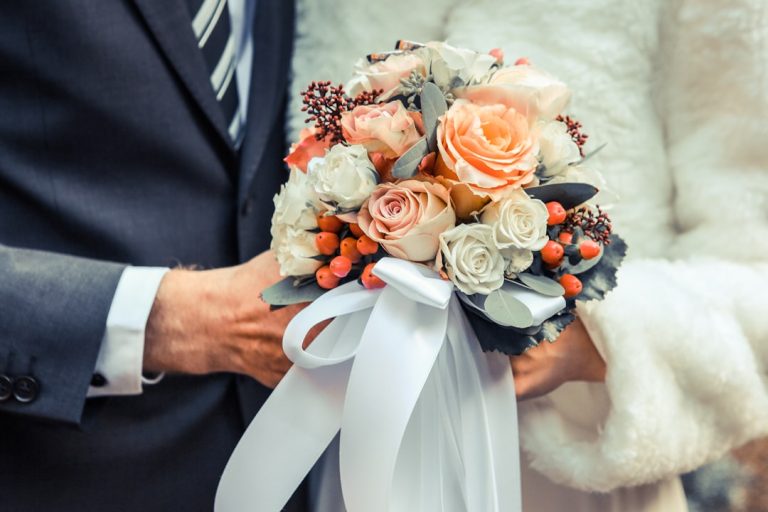
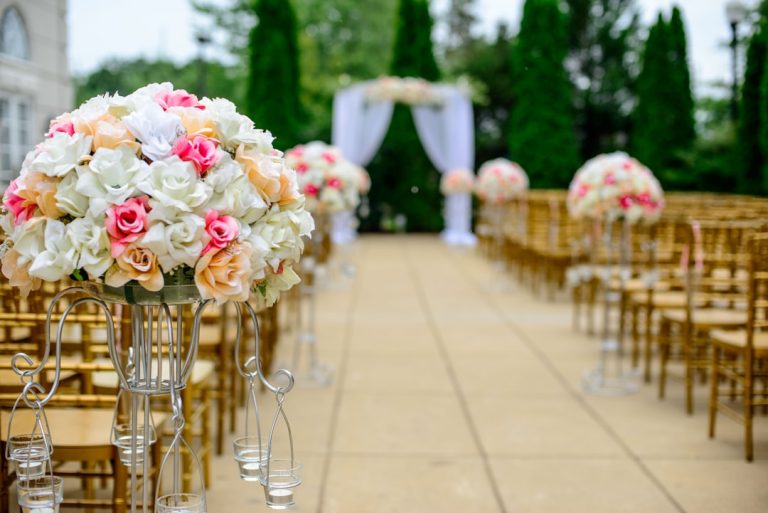
Wedding Color Palettes: Trends and Practical Selection
Color sets mood more reliably than any other visual element. Current trends include muted earth tones for rustic and boho weddings, blush and navy combinations for classic romance, and jewel tones for dramatic evening affairs. But keep practicalities in mind.
How to Pick a Palette:
- Choose a dominant color, a supporting color, and one neutral. For example: blush (dominant), navy (support), and warm ivory (neutral).
- Use the 60-30-10 rule: 60% neutral, 30% primary color, 10% accent. This helps keep invitations readable and elegant.
- Consider season and venue: Spring florals call for pastels; a barn venue works beautifully with warm neutrals and muted greens.
Testing Colors:
- Print swatches before committing — on the actual paper stock. Colors vary widely between screen and print.
- Check contrast: Text should meet readable contrast against backgrounds; avoid placing script over busy floral prints unless you add a solid color block behind text.
- Use color for hierarchy: Accent colors can highlight names, RSVP deadlines, or RSVP website links.
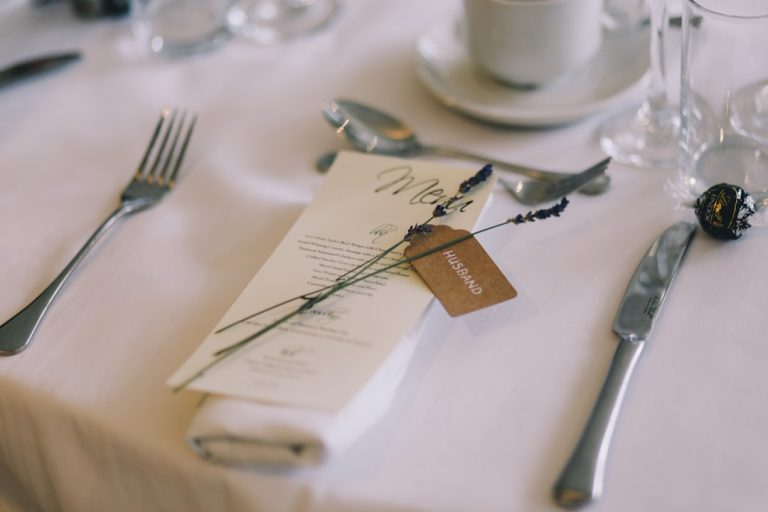
Layout, Hierarchy, and Wording
Good layout balances beauty and clarity. Think of the invitation as a visual hierarchy with three main layers: the hero (couple names or primary message), the details (date, venue), and the functional elements (RSVP, dress code, directions).
Design Rules:
- Center alignment works for formal events; left alignment feels modern and easier to read in dense blocks, such as direction paragraphs.
- Keep RSVP and logistics concise and consider sending separate details cards for maps, hotels, and registry information.
- Maintain adequate spacing (leading) between lines of text — crowded lines reduce legibility.
- Use typographic hierarchy: larger sizes for names, medium for key details, smaller for secondary info.
Wording Tips:
- Use clear, simple language for venue logistics and timing. Keep formal phrasing if you want a formal tone, but don’t overcomplicate guest instructions.
- Include a wedding website URL for extended information; consider a short, memorable URL or QR code.
- If you include a dress code, be specific but kind (e.g., “Cocktail attire” vs. “Dressy casual — no ball gowns required”).
Printing Methods and Paper Choices
The printing method and paper stock influence both look and tactile feel.
Common Methods:
- Digital: Cost-effective, fast, great for vibrant color and photographic designs. Works well for modern or casual weddings.
- Letterpress: Deep impression, classic, tactile. Best for simpler designs and thicker cotton paper.
- Foil Stamping: Metallic finish adds luxury — perfect for names or monograms.
- Thermography: Raised ink effect that mimics engraving at a lower cost.
- Laser-cut or die-cut: Decorative edges or windowed designs add drama.
Paper Choices:
- Cotton or rag papers are luxurious and print beautifully for letterpress.
- Recycled papers provide texture and an eco-friendly option for rustic weddings.
- Smooth coated stocks are good for photographic invites.
- Consider weight: heavier cardstock feels premium but costs more to mail (check postage rates).
Mailing and Budgeting Considerations
- Budget a margin for proofs, envelopes (inner and outer), addressing, postage, and extras like belly bands or wax seals.
- If hand-addressing, order a few extra in case of mistakes. Or hire calligraphy services for a premium touch.
- Weigh the cost of RSVP cards vs. digital RSVPs: digital RSVP systems save money and simplify tracking, but some guests still prefer a physical RSVP card.
Digital Invitations and Hybrid Approaches
Digital invites and wedding websites are now mainstream. They reduce cost, expedite RSVPs, and are eco-friendlier.
Best Practices:
- Keep design continuity: Use the same fonts and color palette on paper and web.
- Provide a clear RSVP deadline and multiple ways to respond (website, email, phone).
- For destination weddings, use the website for travel logistics and local recommendations.
- Consider a digital save-the-date and a printed formal invitation if you want both reach and ceremony.
How Wedding Services and Planners Help
Working with a wedding planner or designer streamlines the process. We coordinate printers, proofing, envelope addressing, and timeline logistics so you can focus on other details. Our services often include:
- Design brief development and mood-boarding.
- Font selection and typographic mockups.
- Color proofing on paper stocks and printing method recommendations.
- Full suite branding: monogram, invitations, save-the-dates, menus, signage, and digital assets.
- Liaison with calligraphers and printers to ensure proper production and mailing.
Real-World Examples (Mini Case Studies)
- Blush and Navy Wedding: Chose a flowing script for names with a modern serif for details, foil-stamped monogram on thick cotton stock, and a coordinating navy envelope liner printed with a floral pattern. Guests received clear RSVP cards and a simple wedding website link for accommodations.
- Rustic Barn Wedding: Paired a hand-lettered brush script with a warm neutral palette and kraft paper. Printed digitally on recycled card with a custom wood-grain envelope liner and a simple laser-cut belly band.
- Vintage-Inspired City Wedding: Used a classic engraved-style serif, a small crest logo, and letterpress on egg-shell paper. The couple added a separate RSVP postcard to keep the main invitation elegant.
Practical Takeaways for Brides and Women
- Start early: Book your designer/printer at least 3–4 months before the wedding for domestic events, and 4–6 months if you need international shipping or complex printing.
- Limit fonts: Use no more than 2–3 typefaces to keep your invitations cohesive and readable.
- Test in print: Always request a physical proof on your chosen paper before a full print run.
- Prioritize legibility: For guests of all ages, ensure essential details are easy to read.
- Budget for extras: Save 10–15% of your stationery budget for unforeseen costs (envelopes, corrections, expedited proofs).
- Create a visual system: Use a monogram or consistent color palette across signage and favors for a polished look.
- Use resources: Download curated wedding fonts and predesigned templates at https://fonts.wedding to maintain visual consistency across digital and printed pieces.
Quick Checklist Before Sending Invitations
- Finalize guest list and mailing addresses.
- Confirm venue spellings and ceremony times.
- Approve typography, color swatches, and final proof.
- Match envelopes and liners; order postage.
- Plan addressing: printing, calligraphy, or hand-addressing.
- Create RSVP plan: paper card, website, and deadline.
- Order extras (10–15%) for misprints or last-minute RSVPs.
Related Video
Final Thoughts
Invitation design is an opportunity to tell your wedding story before guests arrive. Thoughtful font choices, a cohesive color palette, and a simple monogram can elevate the entire guest experience and make the small details feel intentional. Whether you’re going rustic, boho, vintage, or modern, building a cohesive visual identity ensures everything from save-the-dates to thank-you notes feels part of the same story.
Ready to get started? Explore our wedding design services or download fonts and ready-made design templates at https://fonts.wedding to create invitations and stationery that capture your vision. If you’d like a consultation to map your invitation timeline, print options, or a custom monogram, contact our team — we specialize in turning inspiration into beautiful, practical wedding stationery.